
- Implant Selection: Osteonics


- PreOp Planning:
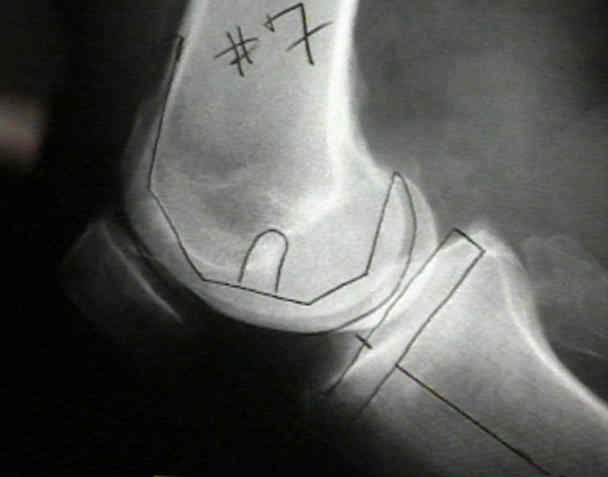
- Anterior Longitudinal Midline Approach:
- Synovectomy (if appropriate):
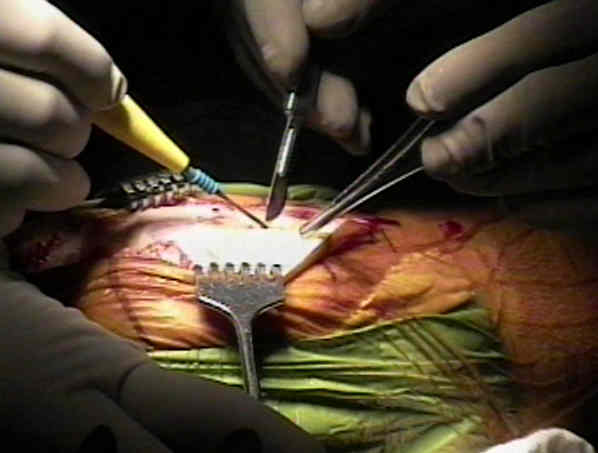
- Medial and Lateral Capsular Exposure:
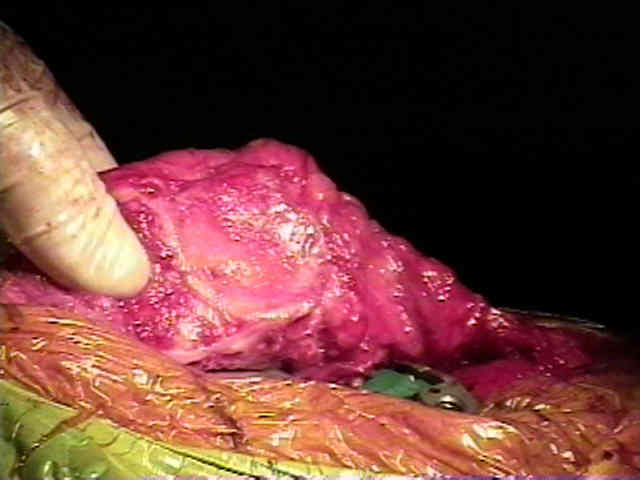
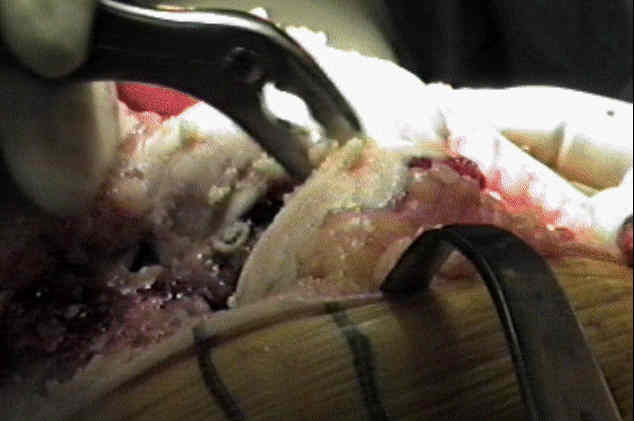
- Patellar Eversion:
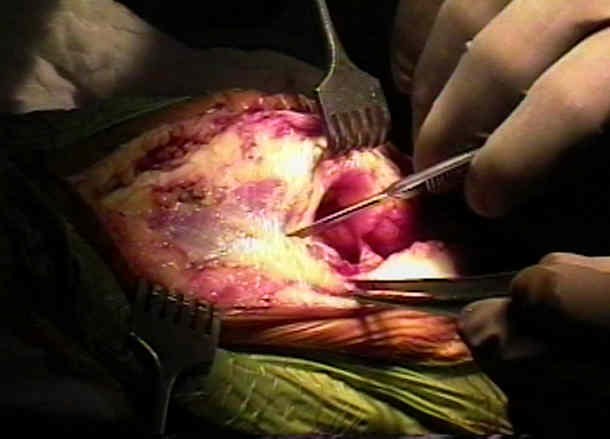
- Articular Exposure:
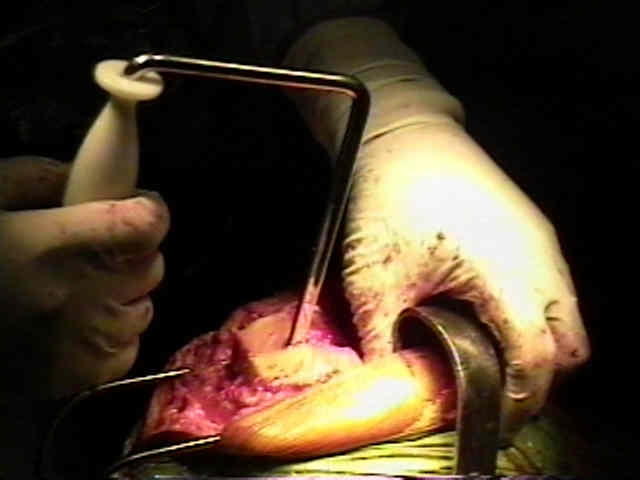
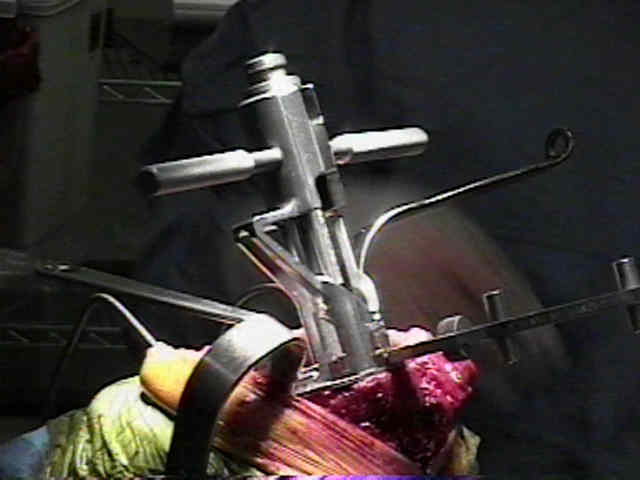
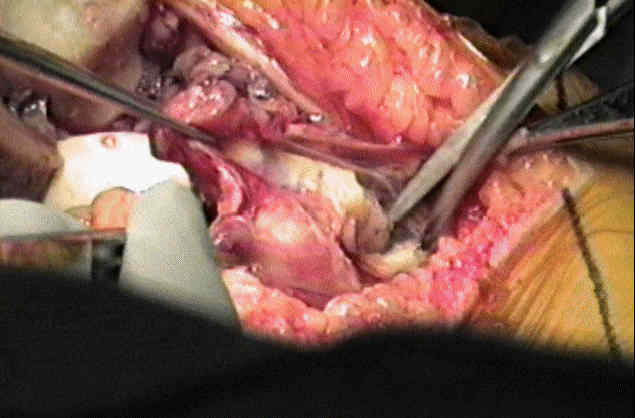
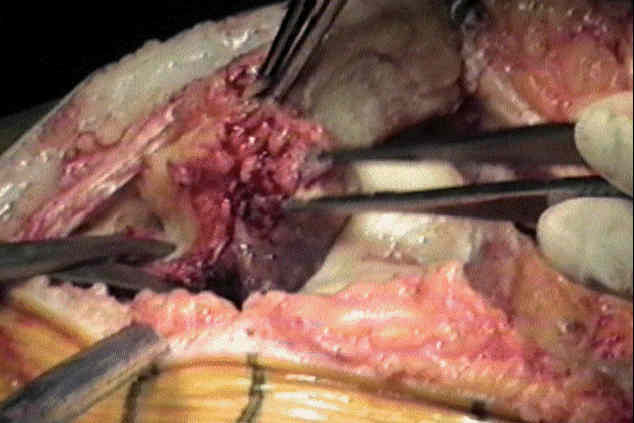
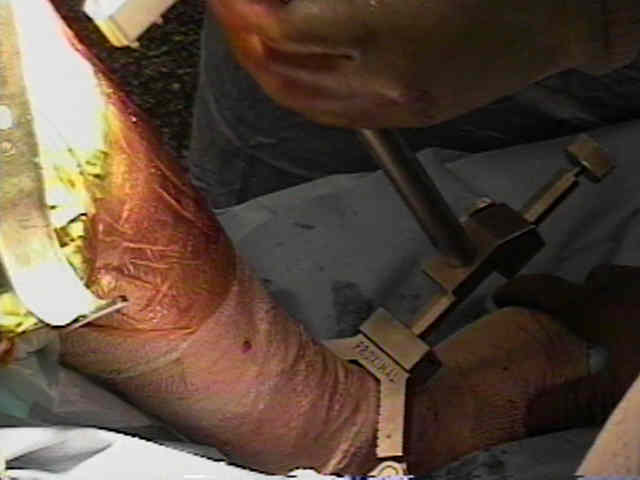
- IM Alignment Rod:
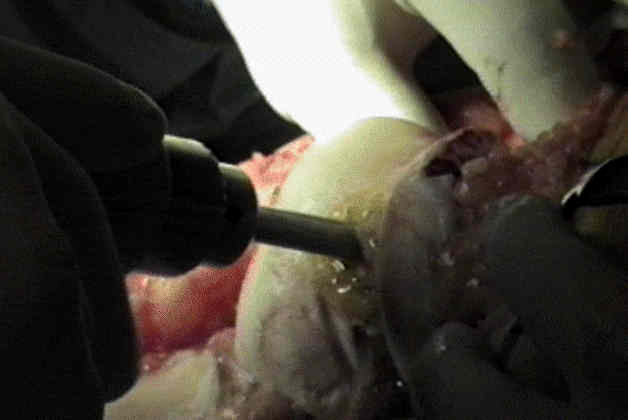
- drill is used to enter femoral IM canal just anterior to PCL insertion in intercondylar notch
- hole is widened w/ drill;
- note, if rod is placed too posterior, the IM alignment rod will point more anteriorly which will cause the femoral component to be flexed;
- additionally, there is a greater chance of notching the femur;
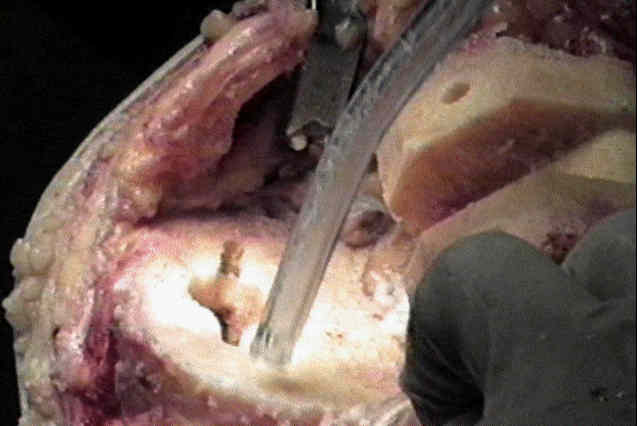
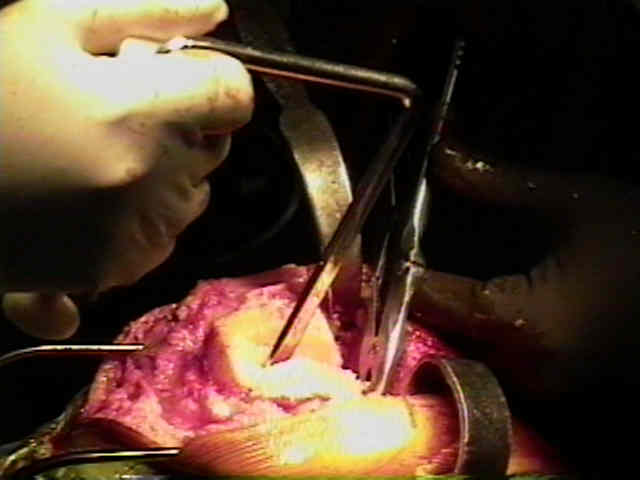
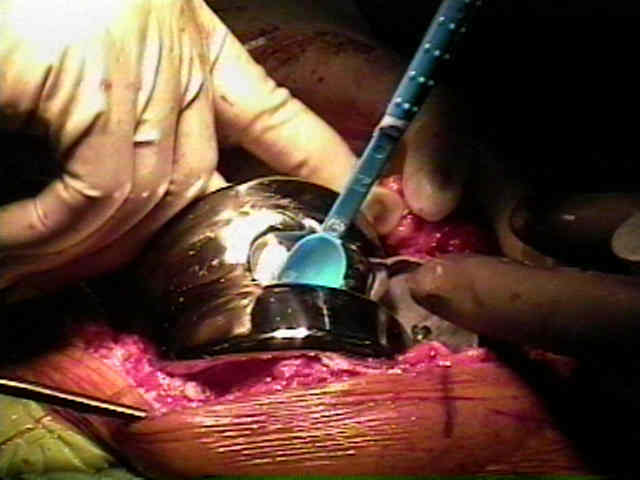
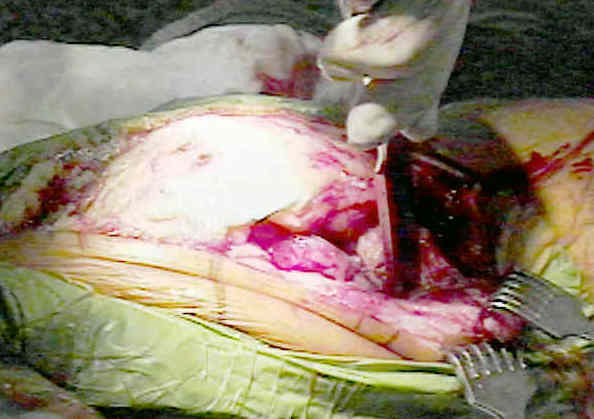
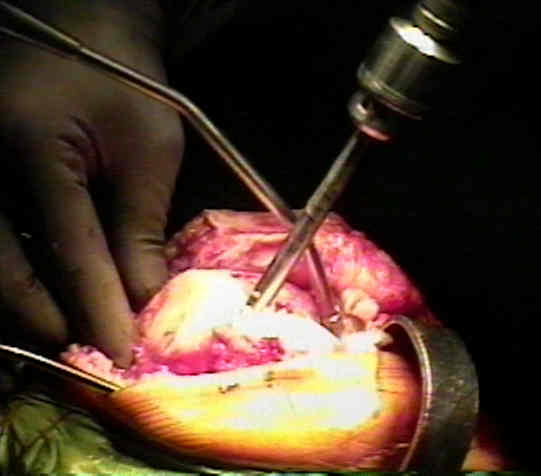
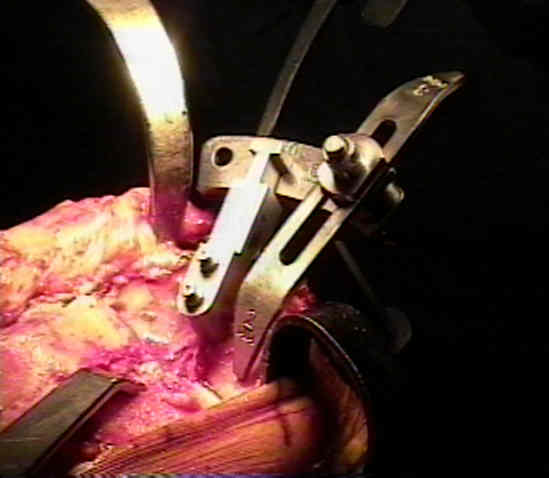
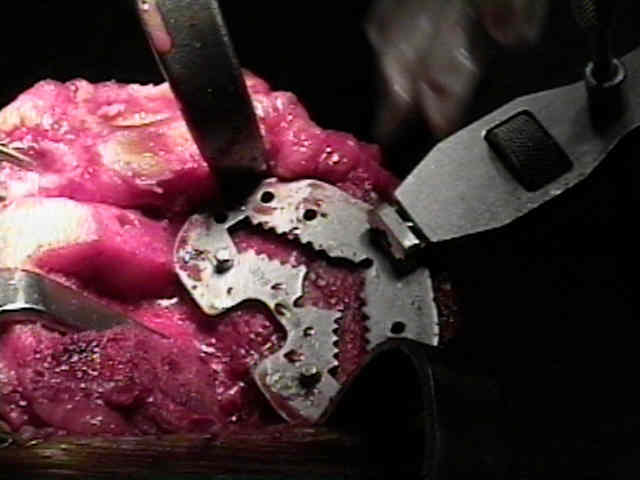
- Distal Femoral Resection:
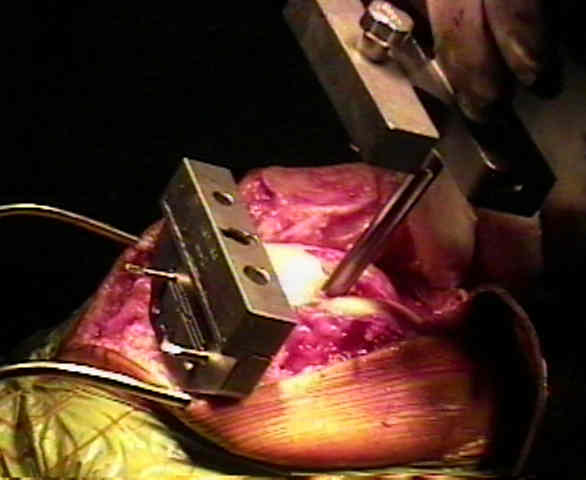
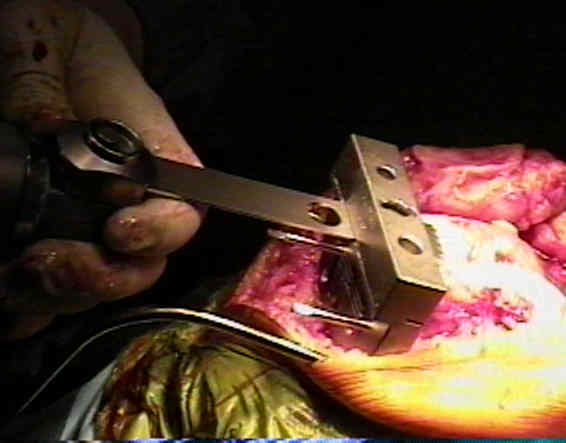
- insert IM alignment rod w/ distal femoral cutting jig;
- cutting block is attached & distal femoral cut performed w/ saw;
- avoid elevation of joint line:
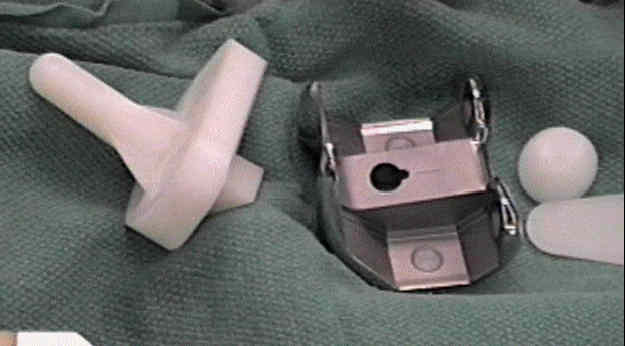
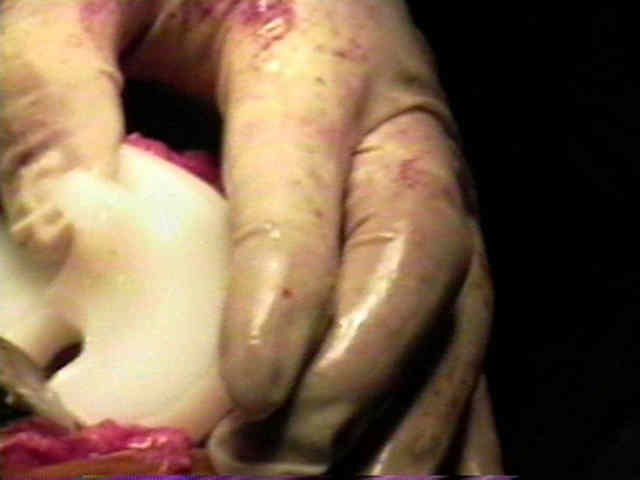
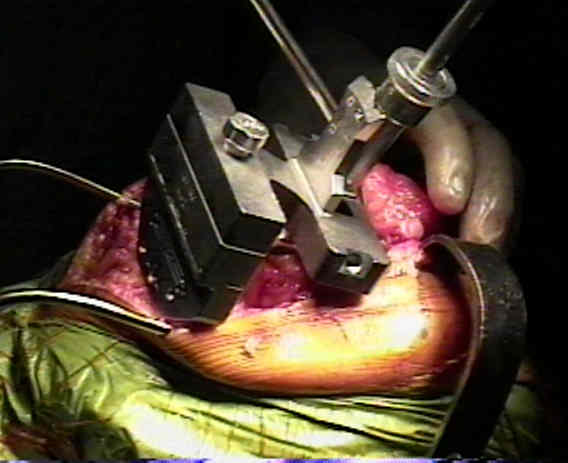
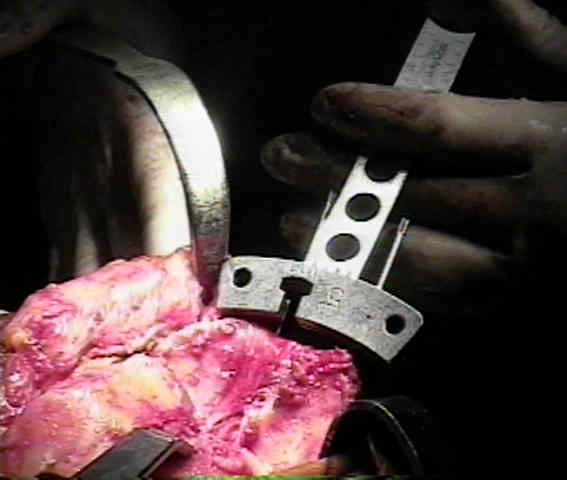
- Distal Femoral Sizing Guide:
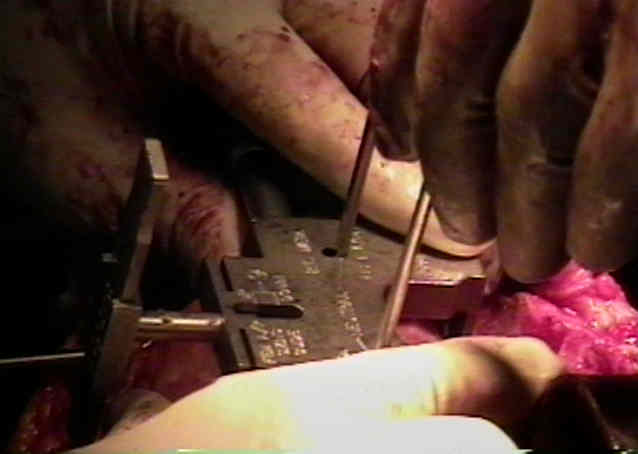
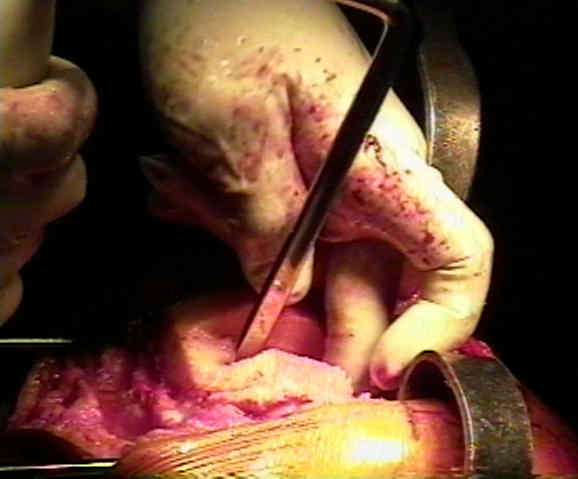
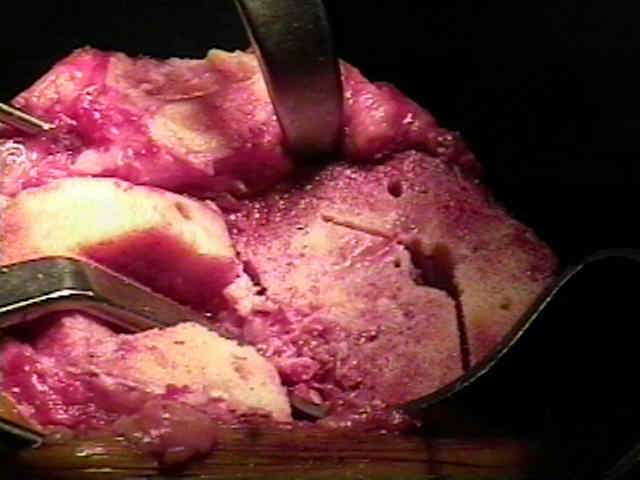
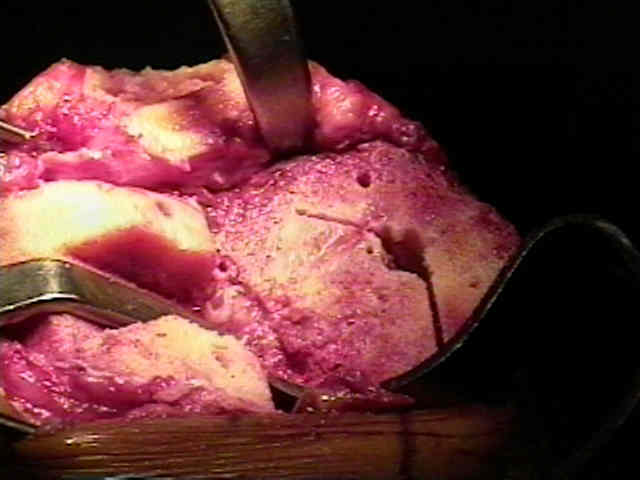
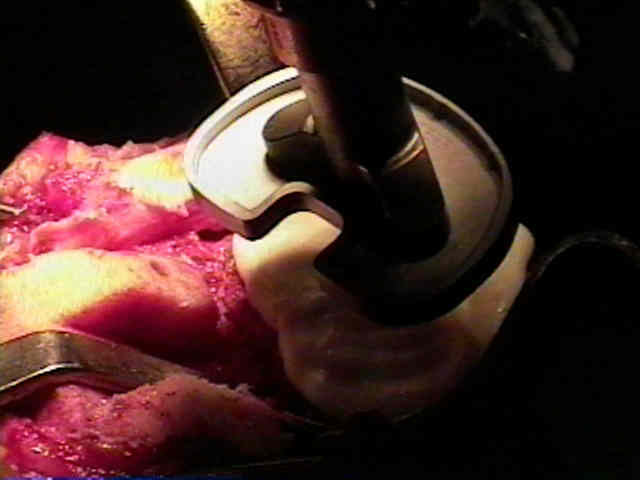
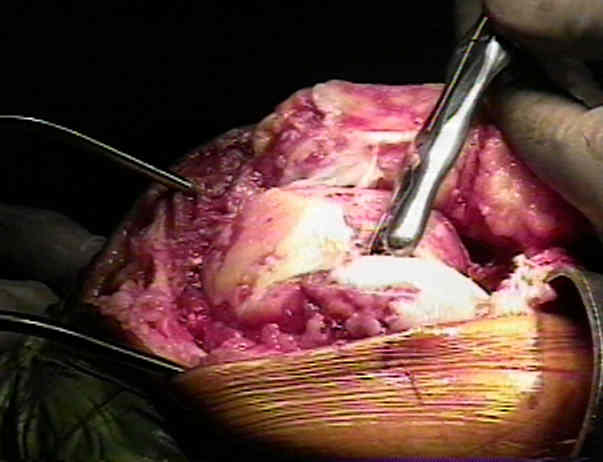
- Anterior, Posterior, & Chamfer Cuts:
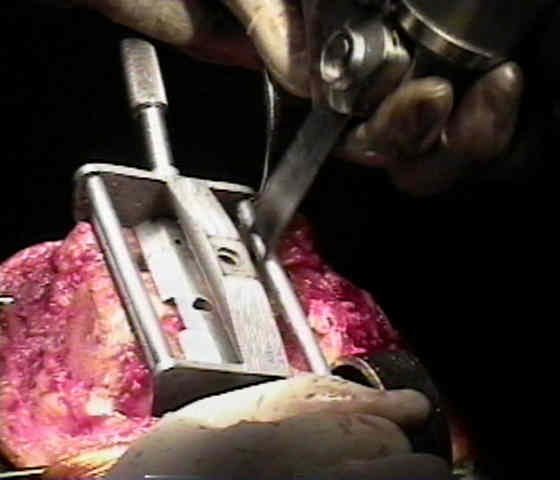
- after cuts are completed, pass a curved osteotome around each of posteior condyles, removing any overhanging bone or osteophytes;
- if left unresected, this overhanging bone can impinge on the tibial plastic, limiting flexion and causing wear of the plastic;
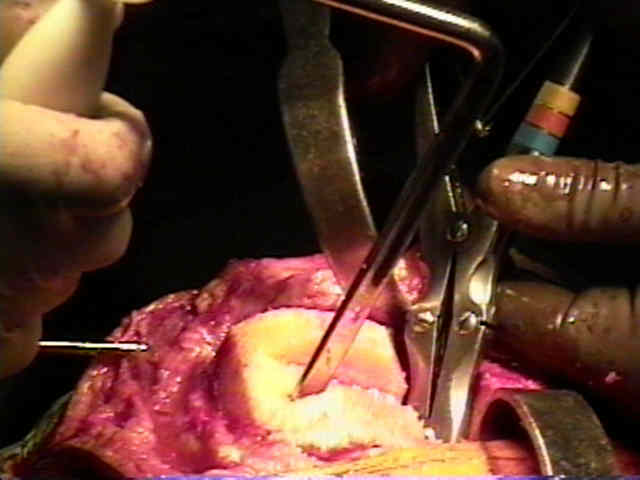
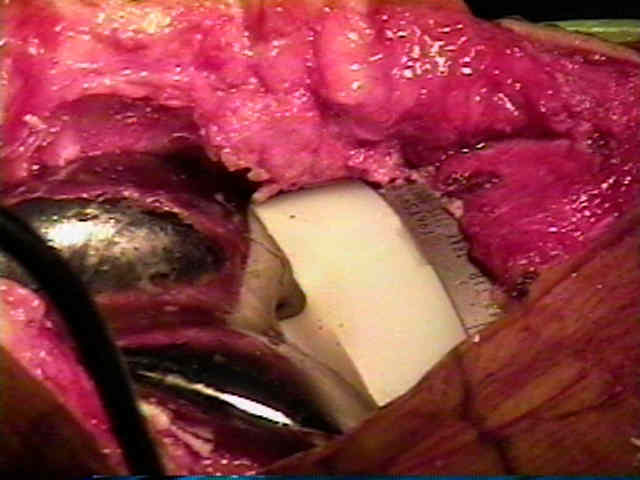
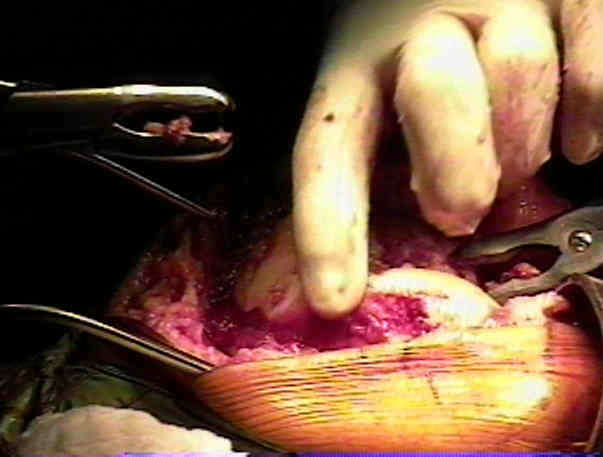
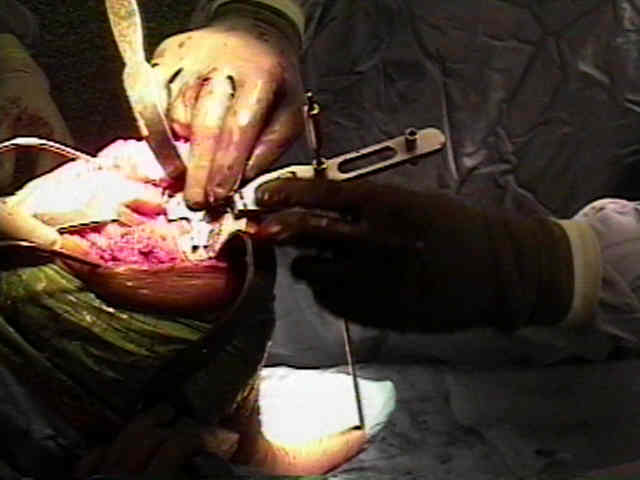
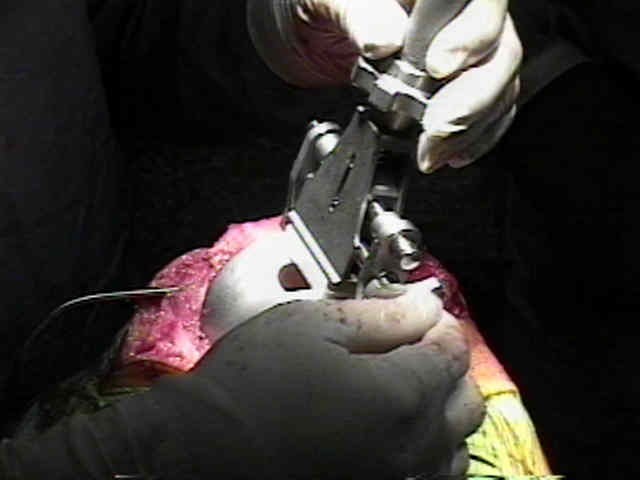
- Preparation for Proximal Tibial Cut: and Extramedullary Guides:

- Proximal Tibial Cut:
- Avoid: Lowering of the Joint Line and Internal Rotation of Tibial Component:
- Consider proper Posterior Slope:
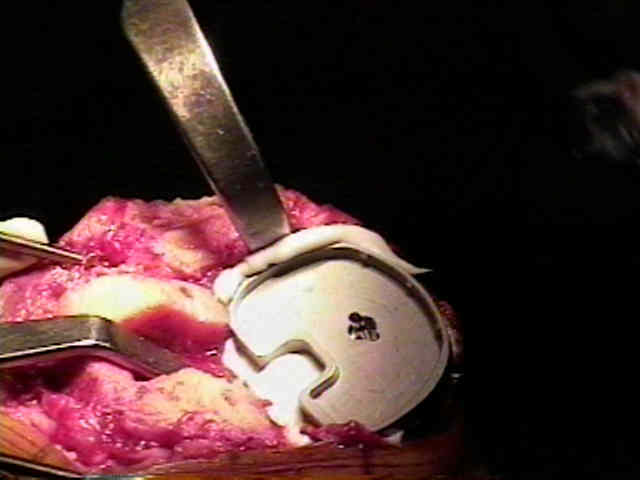
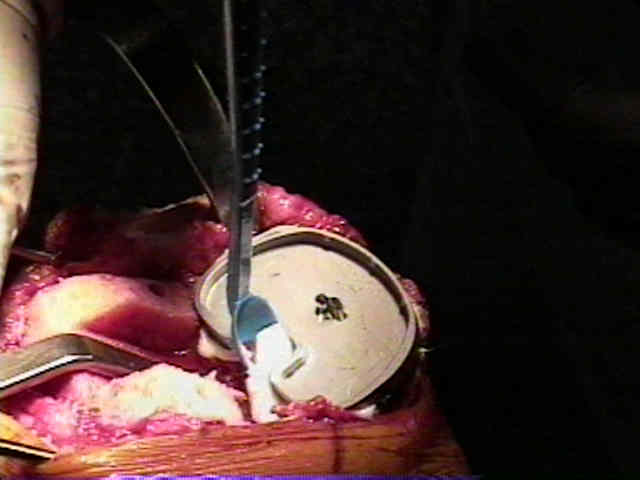
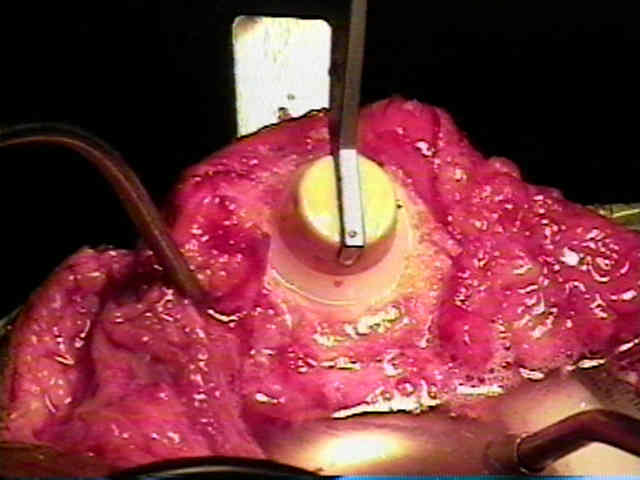
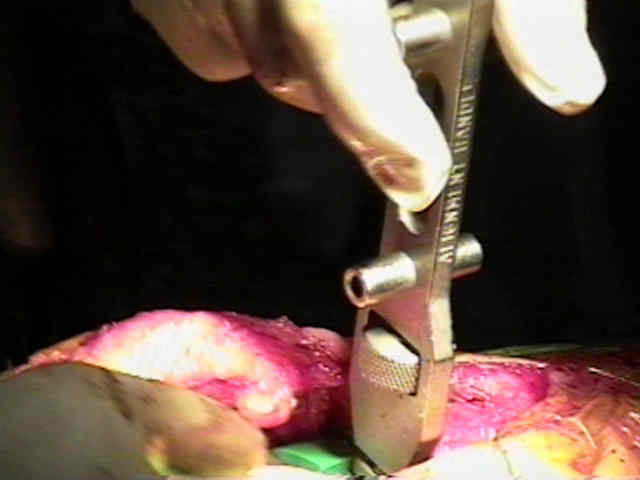
- Seating of the Tibial Tray: (see: tibial component:);
- sized plastic trials are fitted on the selected trial base plate;
- at this point, the tibial trial plate is used as a jig to prepare seating holes for the pegs or stemm on the undersurface of the actual tibial component;
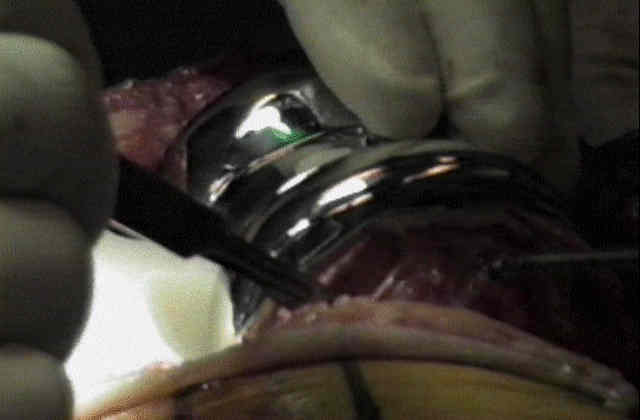
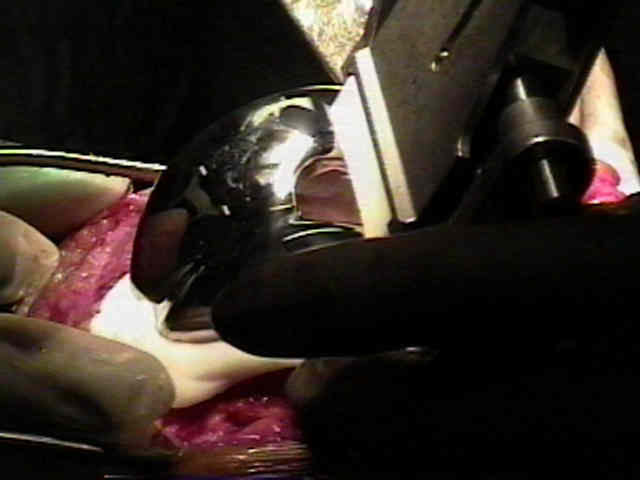
- Apply Trial Femoral and Tibial Components:
- avoid placing the femoral component in flexion, which can be a problem w/ TKR systems that tend to under resect the anterior femoral cut;
- medial lateral translation:
- medial lateral width of component is established by selecting correct AP size;
- although lateral translation of femoral componenet will decrease effective Q angle, it is important to avoid lateral overhang of anterior flange because of negative effect this will have on the extensor mechanism;
- reinsert tibial trial component, & test knee's stability in flexion;
- if there is excessive laxity, increase the height of the tibial trial component until stability is achieved;
- then extend the knee, and again test the stability;
- if all of soft tissue contractures have been relieved & knee fails to fully extend, usual cause is too little resection of distal femur;
- inaccurate sagittal orientation that places femoral component in too much extension may notch the anterior femur and can lead to later supracondylar fracture of the femur;
- femoral component placed in too much flexion alters the kinematics of the knee and may decrease extension;
- Soft Tissue Balance:
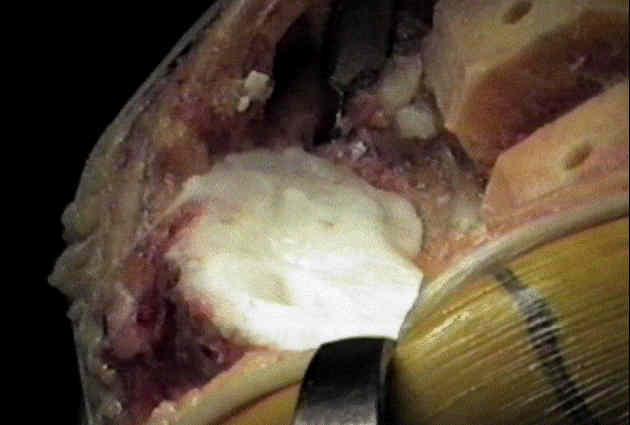
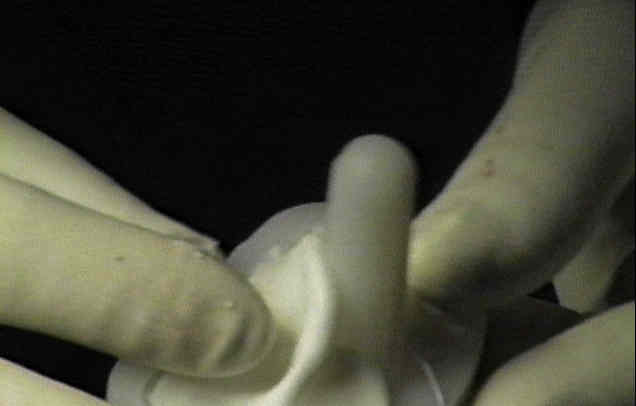
- Patella in TKR:
- size the patellar thickness;
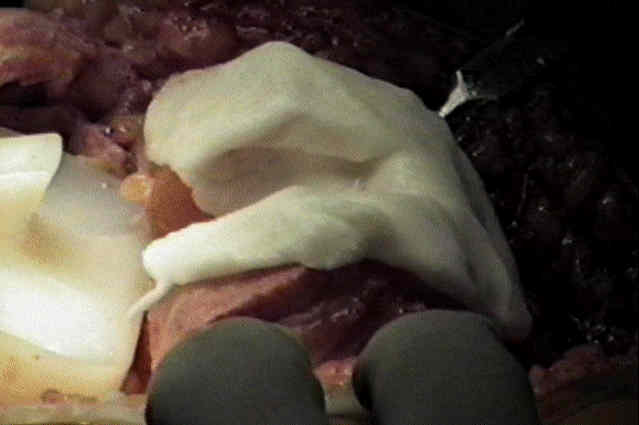
- patella is prepared w/ a horizontal cut w/ the saw.
- reduce the patella thickness to 10-15 mm.
- trial patellar component is then placed.
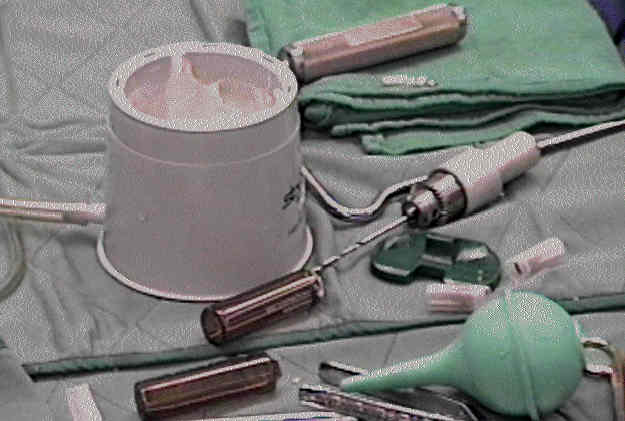
- Cement Mixing:
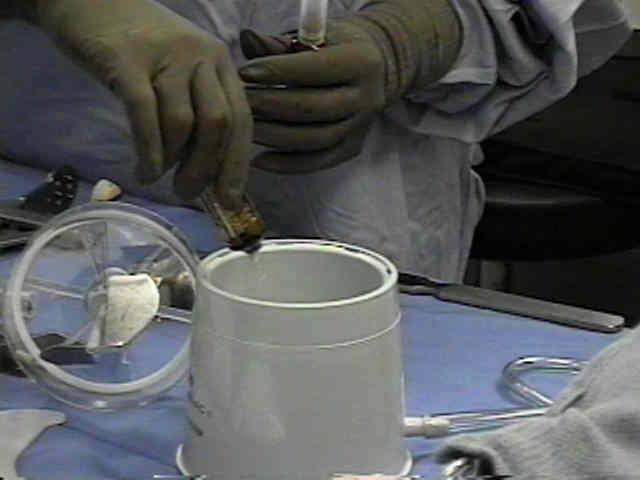
- after all cuts had been completed, preparation for cementing is performed including irrigation of all bone cuts, cement is mixed;
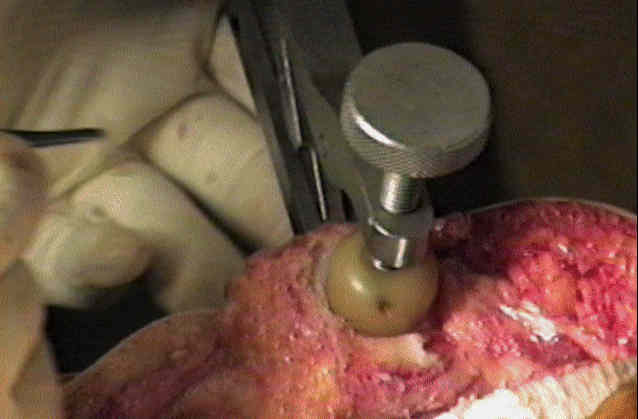
- tibial tray w/ cruciate keel are precoated w/ cement & placed initially;
- after impaction, & excess cement removal, trial spacer is placed.
- femoral component is then impacted into position and again, excess cement removed. 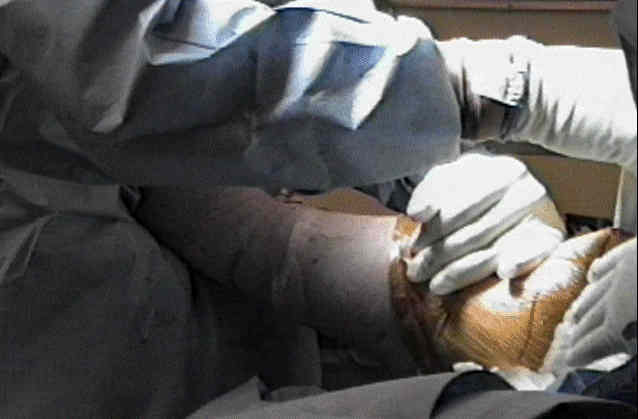
- knee is then placed in full extension to further compress components while the cement hardens;
- patella is then cemented into position, using a patellar clamp to hold all-poly patellar component.
- after cement has hardened, excess cement is again removed w/ small osteotome and pickup.
- ref: Cement penetration with pulsed lavage versus syringe irrigation in total knee arthroplasty.
- Tracking of Patella:
- tracking of patella is assessed & if there is lateral subluxation w/ knee flexion then perform Lateral Retinacular Release
- done from w/in knee joint w/ Mayos to release lateral retinaculum;
- lateral release is carried down all way to tibia distally & to region approx 2 fingerbreadths proximal to patella;
- Wound Closure:
- release tourniquet and achieve good hemostasis before wound closure;
- place knee in a position of 35 deg. of flexion during wound closure;
- ref: - Blood loss after total knee replacement. Effects of tourniquet release and continuous passive motion.
Thanks to Dr. Dimmig and Triangle Orthopaedics for their assistance. -
------------------------------------------- -
Anteromedial Approach:
- infrapatellar branch of the saphenous nerve should be protected;
- saphenous nerve courses posterior to the sartorius muscle, then pierces the fascia lata between the tendons of the sartorius & gracilis muscles, and becomes subQ on medial aspect of leg;
- on the medial aspect of the knee it gives off a large infrapatellar branch to supply the skin over the anteromedial aspect of knee;
- beware of several variations in the course of the infrapatellar branch of the saphenous nerve;
- begin the incision at the medial border of the quadriceps tendon 7 to 10 cm proximal to the patella and back toward the midline, and end it at or distal to the tibial tuberosity;
- divide and retract the fascia;
- deepen the dissection between the vastus medialis muscle & medial border of quadriceps tendon, and incise the capsule and synovium along this medial border and along medial border of the patella and patella tendon;
- retract the patella laterally and flex the knee to gain a good view of anterior compartment of the joint and the suprapatellar bursa;
- Johnson and Johnson: